Guest post by Vik
Currently gifted with a lot of free time, we got my old art box out, filled with all sorts of chalks, inks, crayons and water colours. I used my french charcoal sticks for some sketches, and fully enamoured with the smooth texture and expressive line, decided that it’s time to make our own locally grown artist charcoal.
Preparation
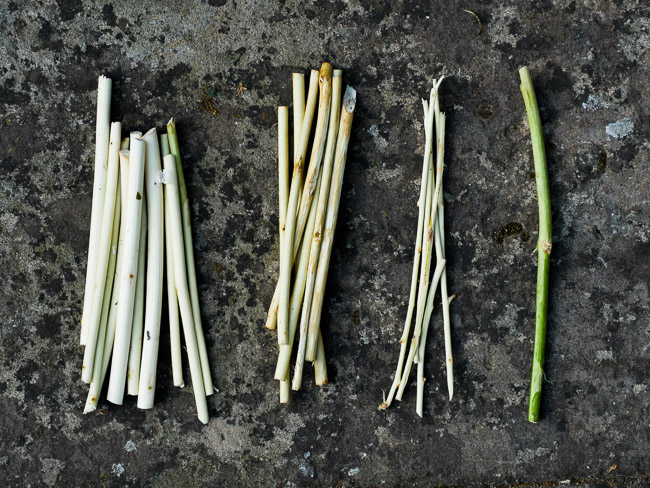
- Collect fresh branches/twigs. Willow and wine are classically used, but we also successfully tried beech and alder tree. The branches should be at least 8mm thick. (The willow tips within our reach were definitely too thin! They can be used but are a bit fragile.)
- Cut the sticks to your desired length, and peel the bark off. We did this step while walking and collected the sticks in our pockets, so you will have to imagine how that looks like. The peeling was easy because the trees were so juicy.
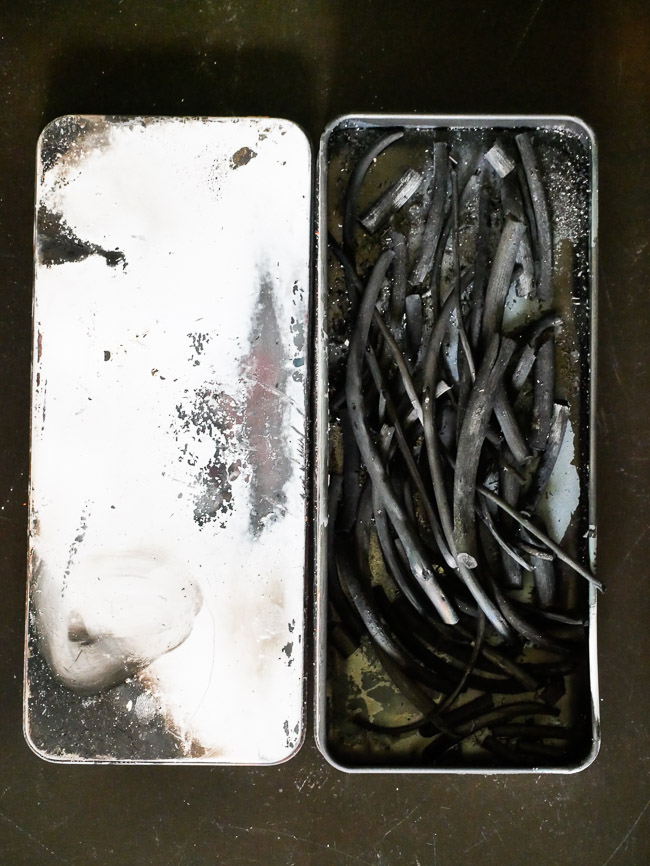
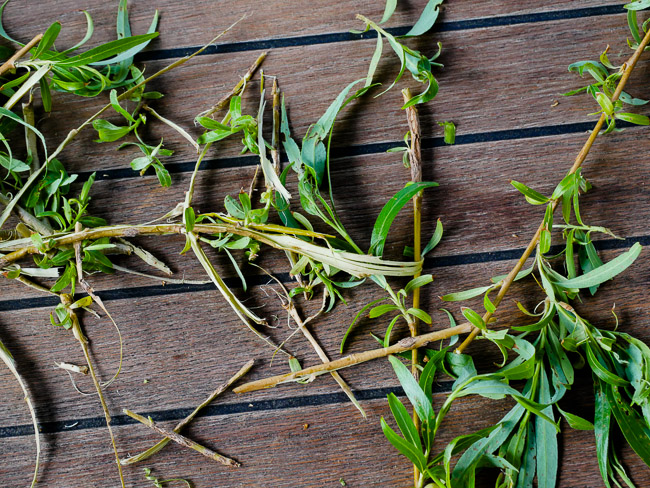
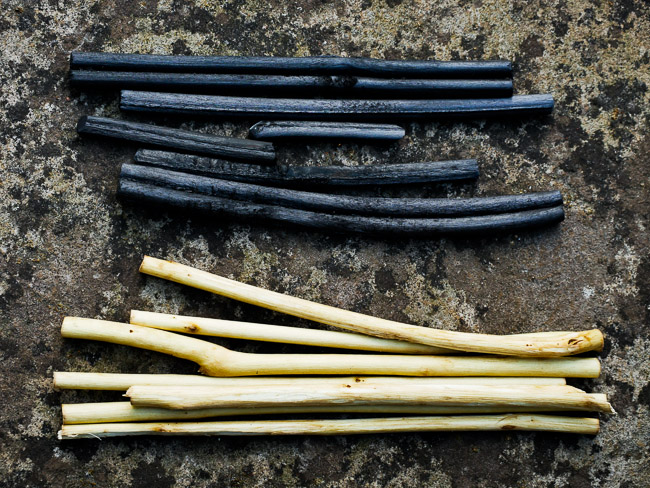
Pictured below:
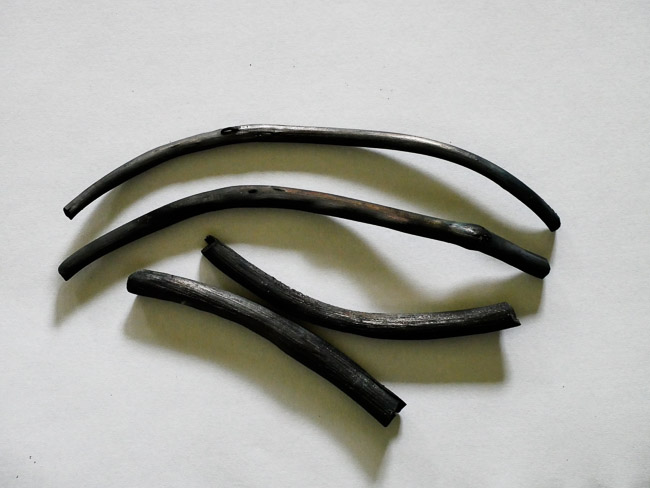
a) willow bark we peeled off; b) my french store bought charcoal next to our alder sticks; c) beech, alder, willow, and elder; d) our own charcoal.
The Process
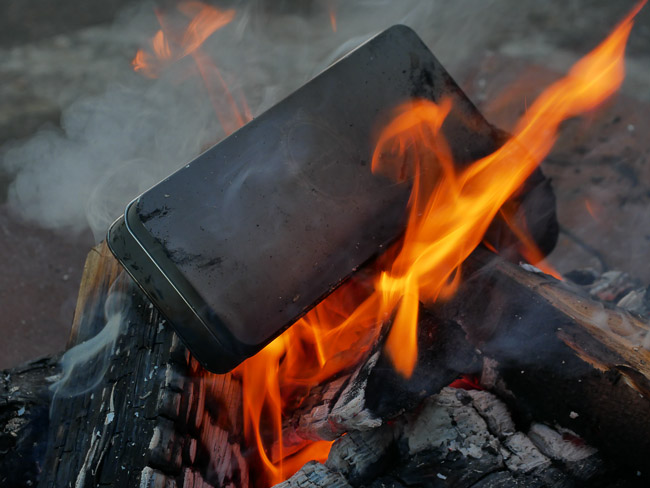
- Find a metal box that you can seal. We found a truffle box, also paint cans are suitable. It should be sealed well, but not air tight, in that case simply make a little hole in your container.
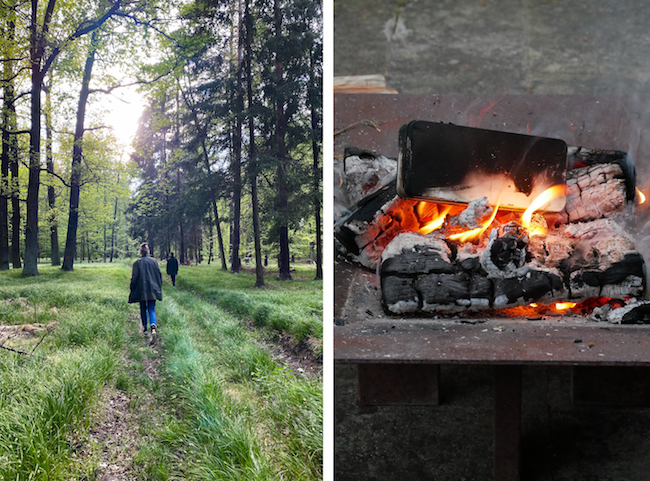
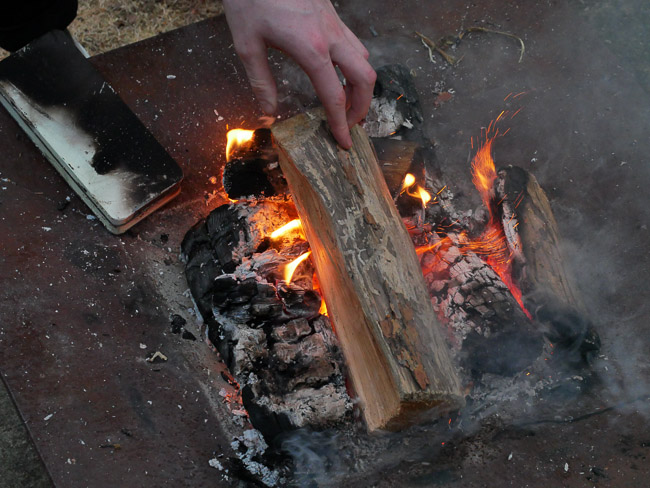
- Build a fire! The box will stay in the fire for at least 1,5h.
- Put the sticks in the box, close it well, and chuck it in the fire.
- Set a timer, and wait. Carefully turn the box once or twice (at least that’s what we did).
- BE CAREFUL: the box might have build up pressure inside, and it will be extremely hot. The metal was glowing red! Keep that in mind when moving it, use long sticks to handle it, and gently move it away from the fire.
- Let it cool down completely, before carefully opening it to check if the sticks have charred fully. If they aren’t all the way black, just put them back in the container and back in the fire for a while longer.
Et voilà!
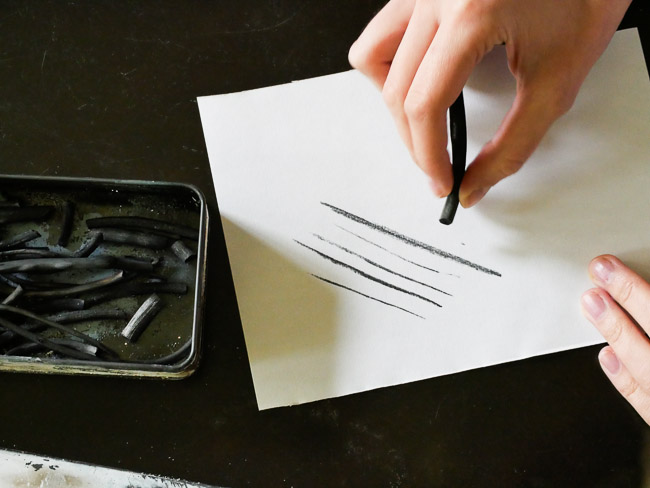
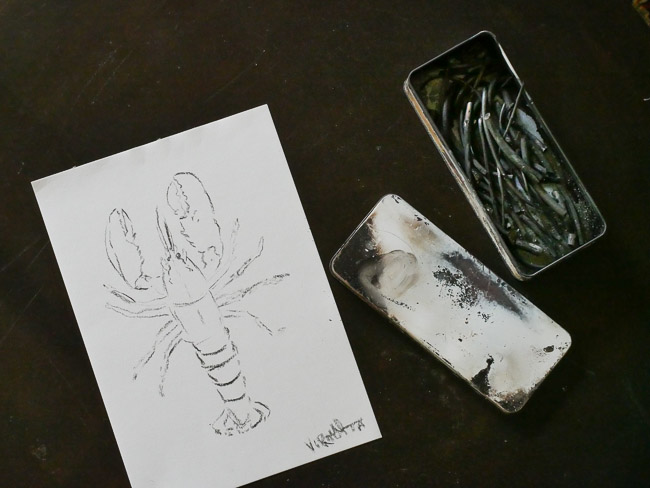
To try out the charcoal I just drew some lines. It’s truly amazing how each stick has it’s own softness and texture: you can see some hard lines and some soft fat, deeply black ones.
Now get yourself some quality paper, and start creating! My advice would be to throw your logical brain out and with it all expectation and control, and just have fun exploring the medium.
What we learned for the next time: Different trees all give great results. Super thin sticks are too fragile. It’s easy, if you have a metal box and a safe fire pit!